Overview of Casting and Its Applications
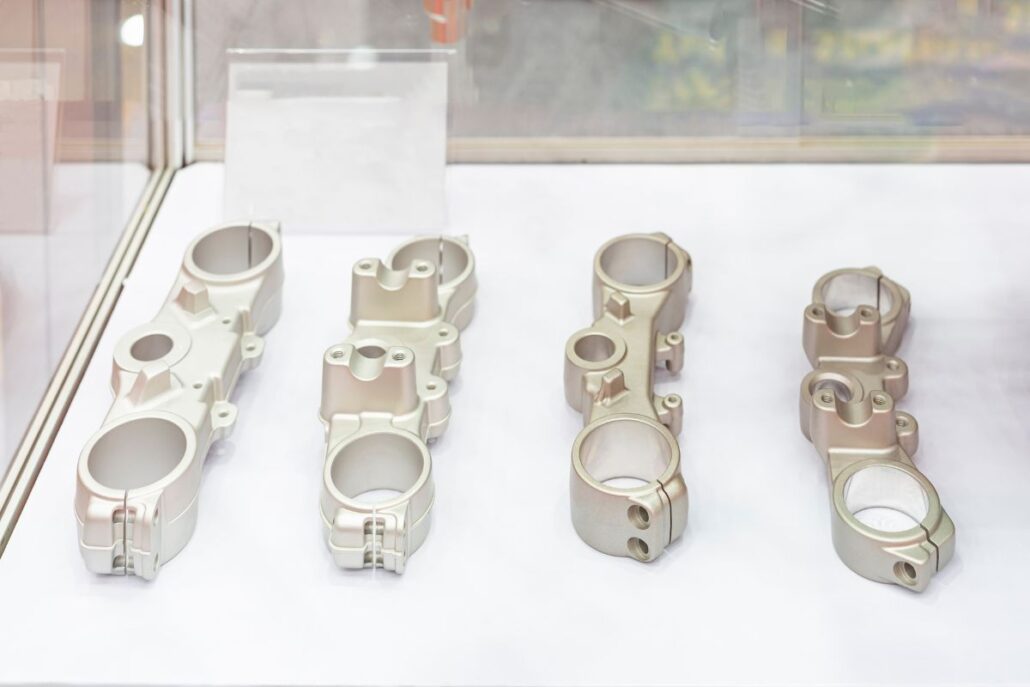
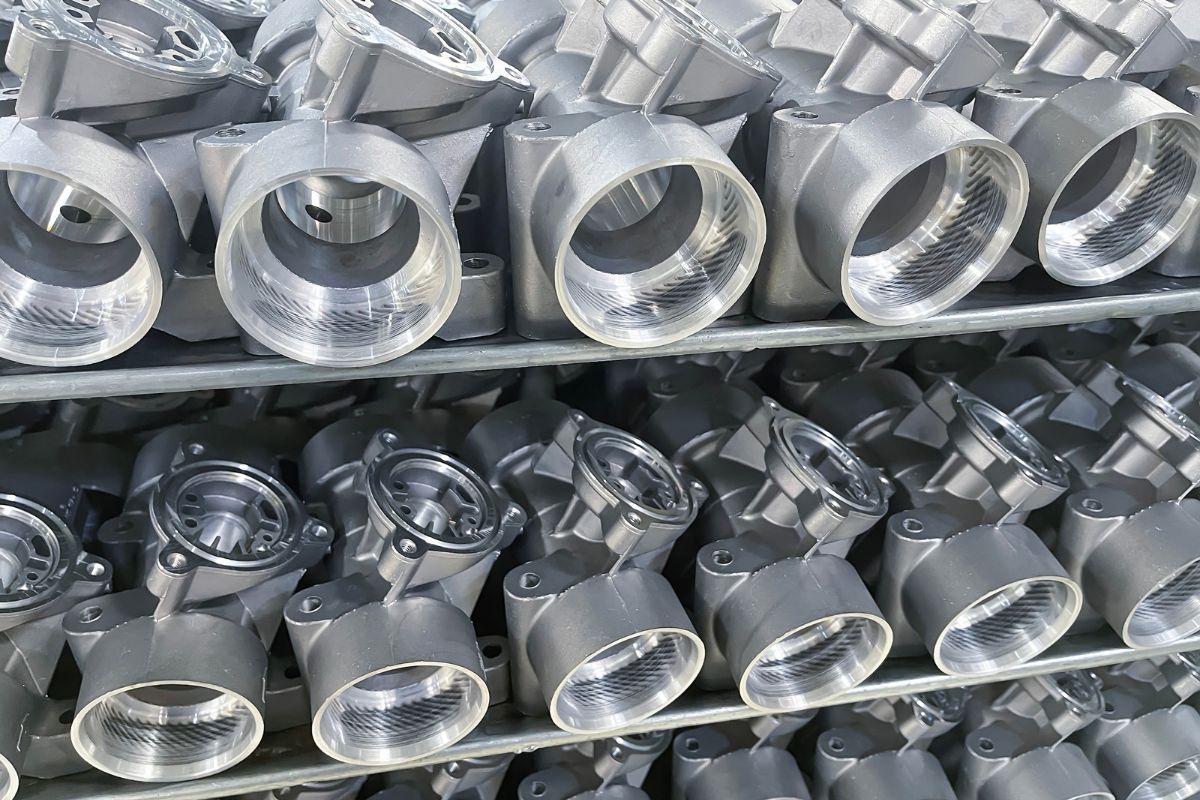
Casting is a manufacturing process in which a liquid material is poured into a mold, containing a hollow cavity of the desired shape, and then allowed to solidify. The solidified part, known as a casting, is then ejected or broken out of the mold to complete the process. This technique is widely used for creating intricate shapes that would be difficult or uneconomical to produce by other methods. Common applications of casting include the production of metal parts, plastic components, and even artistic sculptures.
Importance of Making a Quality Mold
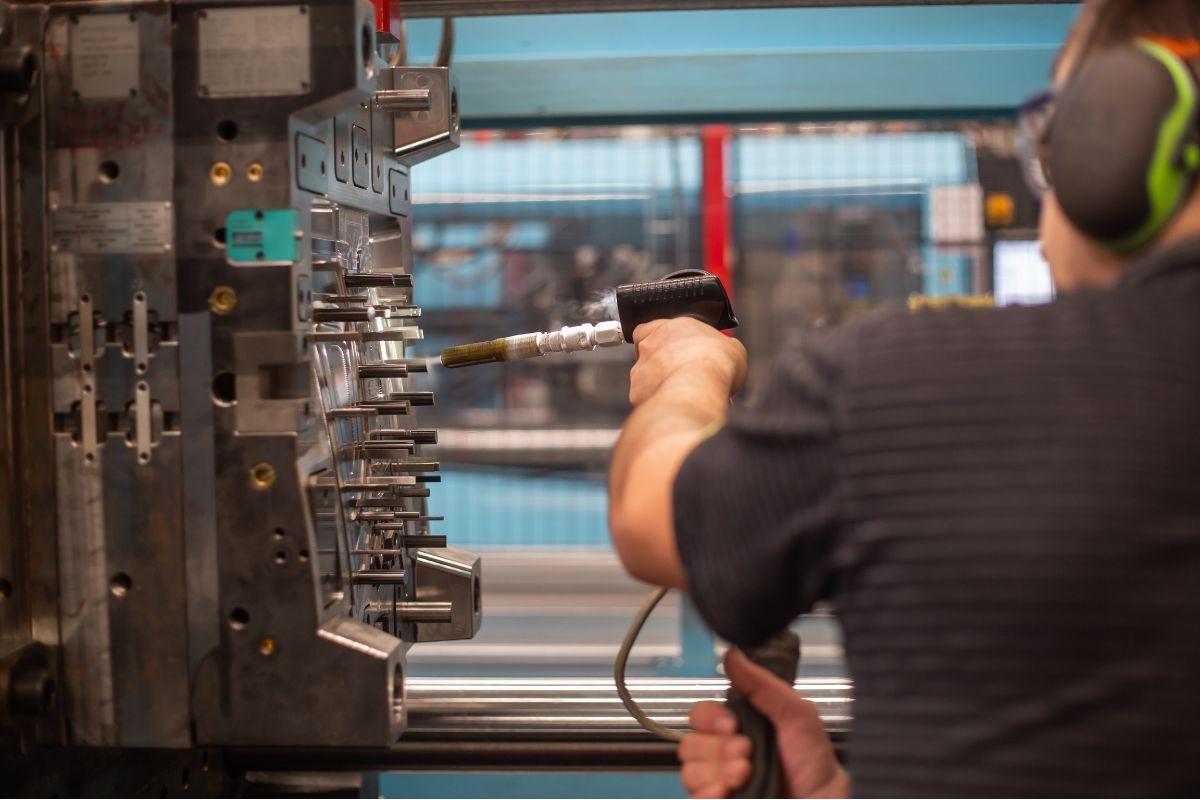
The quality of the mold directly influences the quality of the final cast product. A well-made mold ensures that the casting process is efficient and the resulting cast is precise and free from defects. Poorly made molds can lead to problems such as air bubbles, rough surfaces, and inaccuracies in the final product, which may require additional finishing work or result in wasted material.
Brief Overview of the Process
Making a mold for casting involves several key steps, each of which must be executed with care to achieve the best results. The process begins with selecting and preparing the model or pattern that will be replicated. Next, the appropriate mold material is chosen and prepared. Depending on the complexity of the item to be cast, the mold can be a simple one-part mold, a more complex two-part mold, or even a multi-part mold for very intricate designs. After the mold material is poured over the model and allowed to cure, the mold is carefully opened and prepared for casting.
Understanding the fundamentals of mold making is essential for anyone interested in casting, whether for industrial purposes, prototyping, or artistic endeavors. This guide will provide detailed instructions and tips for creating high-quality molds, ensuring that your casting projects are successful and your final products are of the highest quality.
Types of Casting Molds
One-Part Molds
Definition and Uses
A one-part mold is the simplest type of die casting mold used in casting. It is a single cavity mold where the material is poured in, allowed to set, and then removed. This type of mold is typically used for flat or relatively simple objects that do not have undercuts.
Materials Needed
- Mold material (silicone, latex, plaster)
- Mixing container and stirring sticks
- Release agent
- Model to be replicated
Two-Part Molds
Definition and Uses
A two-part mold consists of two halves that fit together to form a complete mold around the model. This type of mold is ideal for more complex shapes with intricate details and undercuts. The two halves allow for easier removal of the cast object.
Materials Needed
- Mold material (silicone, latex, plaster)
- Mixing containers and stirring sticks
- Release agent
- Model to be replicated
- Mold box or frame to hold the mold material
- Clay or other material to create a parting line
Complex Molds
Definition and Uses
Complex molds are used for highly detailed and intricate objects that may require multiple parts and support structures. These molds are often used in professional or industrial settings where precision and detail are critical.
Materials Needed
- Mold material (silicone, latex, plaster)
- Mixing containers and stirring sticks
- Release agent
- Model to be replicated
- Mold box or frame to hold the mold material
- Clay or other material to create parting lines and support structures
- Reinforcement materials (fiberglass, mother molds)
Choosing the Right Mold Type
Considerations
When deciding which type of mold to use, consider the complexity of the object, the level of detail required, and the material you will be casting. Simple objects may only need a one-part mold, while more complex items will benefit from a two-part or multi-part mold.
Advantages and Disadvantages
- One-Part Molds: Easy to make and cost-effective but limited to simple shapes without undercuts.
- Two-Part Molds: More versatile and suitable for complex shapes but require more skill and time to create.
- Complex Molds: Allow for high precision and detail but are the most challenging and time-consuming to make.
Understanding the different types of casting molds and their applications will help you choose the right approach for your specific project, ensuring successful and high-quality castings.
Materials and Tools Required
Mold Materials
- Silicone
- Advantages: Highly flexible, durable, and capable of capturing fine details.
- Uses: Ideal for making molds for casting resin, wax, and low-melting point metals.
- Latex
- Advantages: Flexible and relatively inexpensive.
- Uses: Suitable for making molds for plaster, concrete, and some resins.
- Plaster
- Advantages: Easy to use and cost-effective.
- Uses: Commonly used for simple, one-time-use molds, especially for casting plaster or concrete.
- Alginate
- Advantages: Non-toxic and quick-setting.
- Uses: Primarily used for life casting (e.g., making molds of body parts).
Casting Materials
- Resin
- Types: Epoxy, polyester, and polyurethane resins.
- Uses: Ideal for creating durable and detailed castings, commonly used in art, jewelry, and prototyping.
- Plaster
- Uses: Suitable for creating lightweight and detailed casts, often used in art and construction.
- Metal
- Types: Low-melting point metals like pewter and zinc.
- Uses: Used for making strong and durable casts, typically in industrial applications and jewelry making.
Tools
- Mixing Containers
- Purpose: Used for mixing mold and casting materials.
- Characteristics: Should be clean, disposable or easy to clean, and appropriately sized for the project.
- Stirring Sticks
- Purpose: For mixing mold and casting materials thoroughly.
- Characteristics: Can be disposable wooden sticks or reusable plastic or metal ones.
- Release Agents
- Purpose: To prevent the casting material from sticking to the mold.
- Types: Spray, liquid, or paste.
- Application: Must be applied evenly to ensure easy removal of the cast object.
- Measuring Tools
- Purpose: For accurately measuring the proportions of mold and casting materials.
- Types: Graduated cups, digital scales.
- Safety Gear
- Types: Gloves, goggles, respirators, and protective clothing.
- Purpose: To protect the user from harmful chemicals and materials during the mold-making and casting process.
Additional Materials and Tools
- Model or Pattern
- Purpose: The original object you wish to replicate using the mold.
- Preparation: Should be clean and free from defects.
- Mold Boxes or Frames
- Purpose: To contain the mold material around the model.
- Types: Can be made from wood, plastic, or other rigid materials.
- Clay or Other Materials for Parting Lines
- Purpose: Used in two-part molds to create a separation line between the mold halves.
- Application: Must be applied carefully to ensure accurate alignment.
- Support Structures
- Purpose: Used in complex molds to provide stability and support during the casting process.
- Materials: Can include clay, foam, or custom-built frameworks.
Having the right materials and tools is crucial for making high-quality molds and successful castings. Ensuring that you have everything prepared and organized before starting the process will help achieve the best results.
Preparation
Choosing the Model for the Mold
- Selecting the Model
- Choose a model that accurately represents the final product you wish to create.
- Ensure the model is clean and free of defects.
- Consider the complexity of the model and decide whether a one-part, two-part, or complex mold is needed.
- Model Material
- The model can be made from various materials such as clay, wood, plastic, or an existing object.
- Ensure the model material can withstand the mold-making process without damage.
Preparing the Workspace
- Workspace Setup
- Choose a well-ventilated area to work in, preferably with access to natural light.
- Cover the work surface with protective material (e.g., plastic sheeting, newspaper) to catch any spills or drips.
- Organizing Tools and Materials
- Gather all necessary tools and materials (mixing containers, stirring sticks, mold materials, release agents, safety gear) and place them within easy reach.
- Ensure measuring tools are clean and ready for use.
Ensuring Proper Ventilation
- Ventilation Importance
- Proper ventilation is crucial when working with mold materials and casting resins, as they can emit harmful fumes.
- Use a well-ventilated area or work outdoors if possible.
- Ventilation Equipment
- Consider using fans or open windows to enhance airflow.
- If working indoors, use an exhaust fan or a fume hood to remove fumes from the workspace.
Applying Release Agents
- Purpose of Release Agents
- Release agents prevent the mold material from sticking to the model, ensuring easy removal of the cast object.
- They also help prolong the life of the mold.
- Types of Release Agents
- Spray: Convenient and easy to apply.
- Liquid: Can be brushed on for a more controlled application.
- Paste: Offers thick coverage for intricate models.
- Application Process
- Apply the release agent evenly over the entire surface of the model.
- Ensure all crevices and detailed areas are thoroughly coated.
- Allow the release agent to dry according to the manufacturer’s instructions before proceeding with mold making.
Additional Preparation Steps
- Securing the Model
- If using a mold box or frame, secure the model inside it to prevent movement during the mold-making process.
- Use clay or other materials to fill any gaps and ensure a tight fit.
- Leveling the Workspace
- Ensure the workspace is level to prevent uneven pouring of the mold material.
- Use a spirit level to check the surface and make any necessary adjustments.
- Final Checks
- Double-check that all tools and materials are ready and within reach.
- Review the mold-making process steps to ensure you are familiar with each stage.
- Put on all necessary safety gear, including gloves, goggles, and a respirator if required.
Proper preparation is essential for a successful mold-making process. By carefully choosing the model, setting up the workspace, ensuring proper ventilation, and applying release agents correctly, you can create high-quality plastic molds that produce excellent castings.
Safety Considerations
Handling Chemicals Safely
- Understanding Material Safety Data Sheets (MSDS)
- Review the MSDS for all chemicals and materials you will be using.
- Pay attention to the hazard information, safe handling practices, and emergency procedures.
- Proper Storage
- Store chemicals in their original containers with labels intact.
- Keep them in a cool, dry place away from direct sunlight and sources of heat.
- Ensure that chemicals are stored away from food and drink.
- Safe Handling Practices
- Follow manufacturer’s instructions for mixing and handling mold and casting materials.
- Use measuring tools to ensure accurate proportions and prevent chemical reactions.
- Avoid inhaling fumes by working in a well-ventilated area or using a fume hood.
Proper Use of Safety Gear
- Personal Protective Equipment (PPE)
- Gloves: Wear chemical-resistant gloves to protect your hands from irritation, burns, or allergic reactions.
- Goggles: Use safety goggles to protect your eyes from splashes and fumes.
- Respirators: Wear a respirator mask with appropriate filters to protect your lungs from inhaling harmful fumes.
- Protective Clothing: Wear long sleeves, aprons, or lab coats to protect your skin and clothing from spills and splashes.
- Using PPE Correctly
- Inspect PPE for damage before use.
- Ensure that gloves and masks fit properly and securely.
- Replace PPE immediately if it becomes damaged or contaminated.
First Aid for Accidents
- Chemical Exposure
- Skin Contact: Rinse the affected area with plenty of water for at least 15 minutes. Remove contaminated clothing. Seek medical attention if irritation persists.
- Eye Contact: Rinse eyes immediately with water for at least 15 minutes, holding the eyelids open. Seek medical attention immediately.
- Inhalation: Move to fresh air immediately. Seek medical attention if breathing difficulties occur.
- Spills and Leaks
- Contain the spill using absorbent materials such as sand or paper towels.
- Clean the area with appropriate cleaning agents, following the manufacturer’s instructions.
- Dispose of contaminated materials safely, following local regulations for hazardous waste disposal.
- Emergency Procedures
- Keep an emergency kit with first aid supplies and a copy of the MSDS for each chemical you use.
- Have emergency contact numbers readily available, including poison control and local emergency services.
- Know the location of emergency equipment, such as eye wash stations and safety showers.
General Safety Tips
- Training and Education
- Ensure that you and anyone working with you are trained in the safe handling of mold and casting materials.
- Stay informed about the latest safety practices and guidelines.
- Maintaining a Clean Workspace
- Keep your workspace organized and free of clutter.
- Clean up spills immediately to prevent accidents.
- Dispose of waste materials properly and regularly.
- Monitoring Health
- Pay attention to any signs of allergic reactions or sensitivity to mold and casting materials.
- Take breaks and work in well-ventilated areas to minimize exposure to fumes.
- Seek medical advice if you experience any persistent health issues related to mold making and casting.
Conclusion
Safety is paramount when working with mold and casting materials. By understanding the risks, using the proper safety gear, handling chemicals carefully, and being prepared for emergencies, you can ensure a safe and successful casting process.